POND upgrading your garden
Do you ever admire those Japanese infused garden designs? Most of those have either a Koi pond or some other sort of water feature included. A pond is a connection to nature that can significantly improve your mental clarity and reduce stress levels (which most of use can definitely use). The natural environment of a pond, including the presence of plant life and wildlife, can enhance feelings of relaxation and mindfulness. All great news right? But you might wonder how expensive it can be to add a pond to your yard so hopefully this blog will put some ease to your thought and possibly strengthen the idea of your very own Zen-zone.
Let’s look at a few things first that you should consider before your DIY pond project.
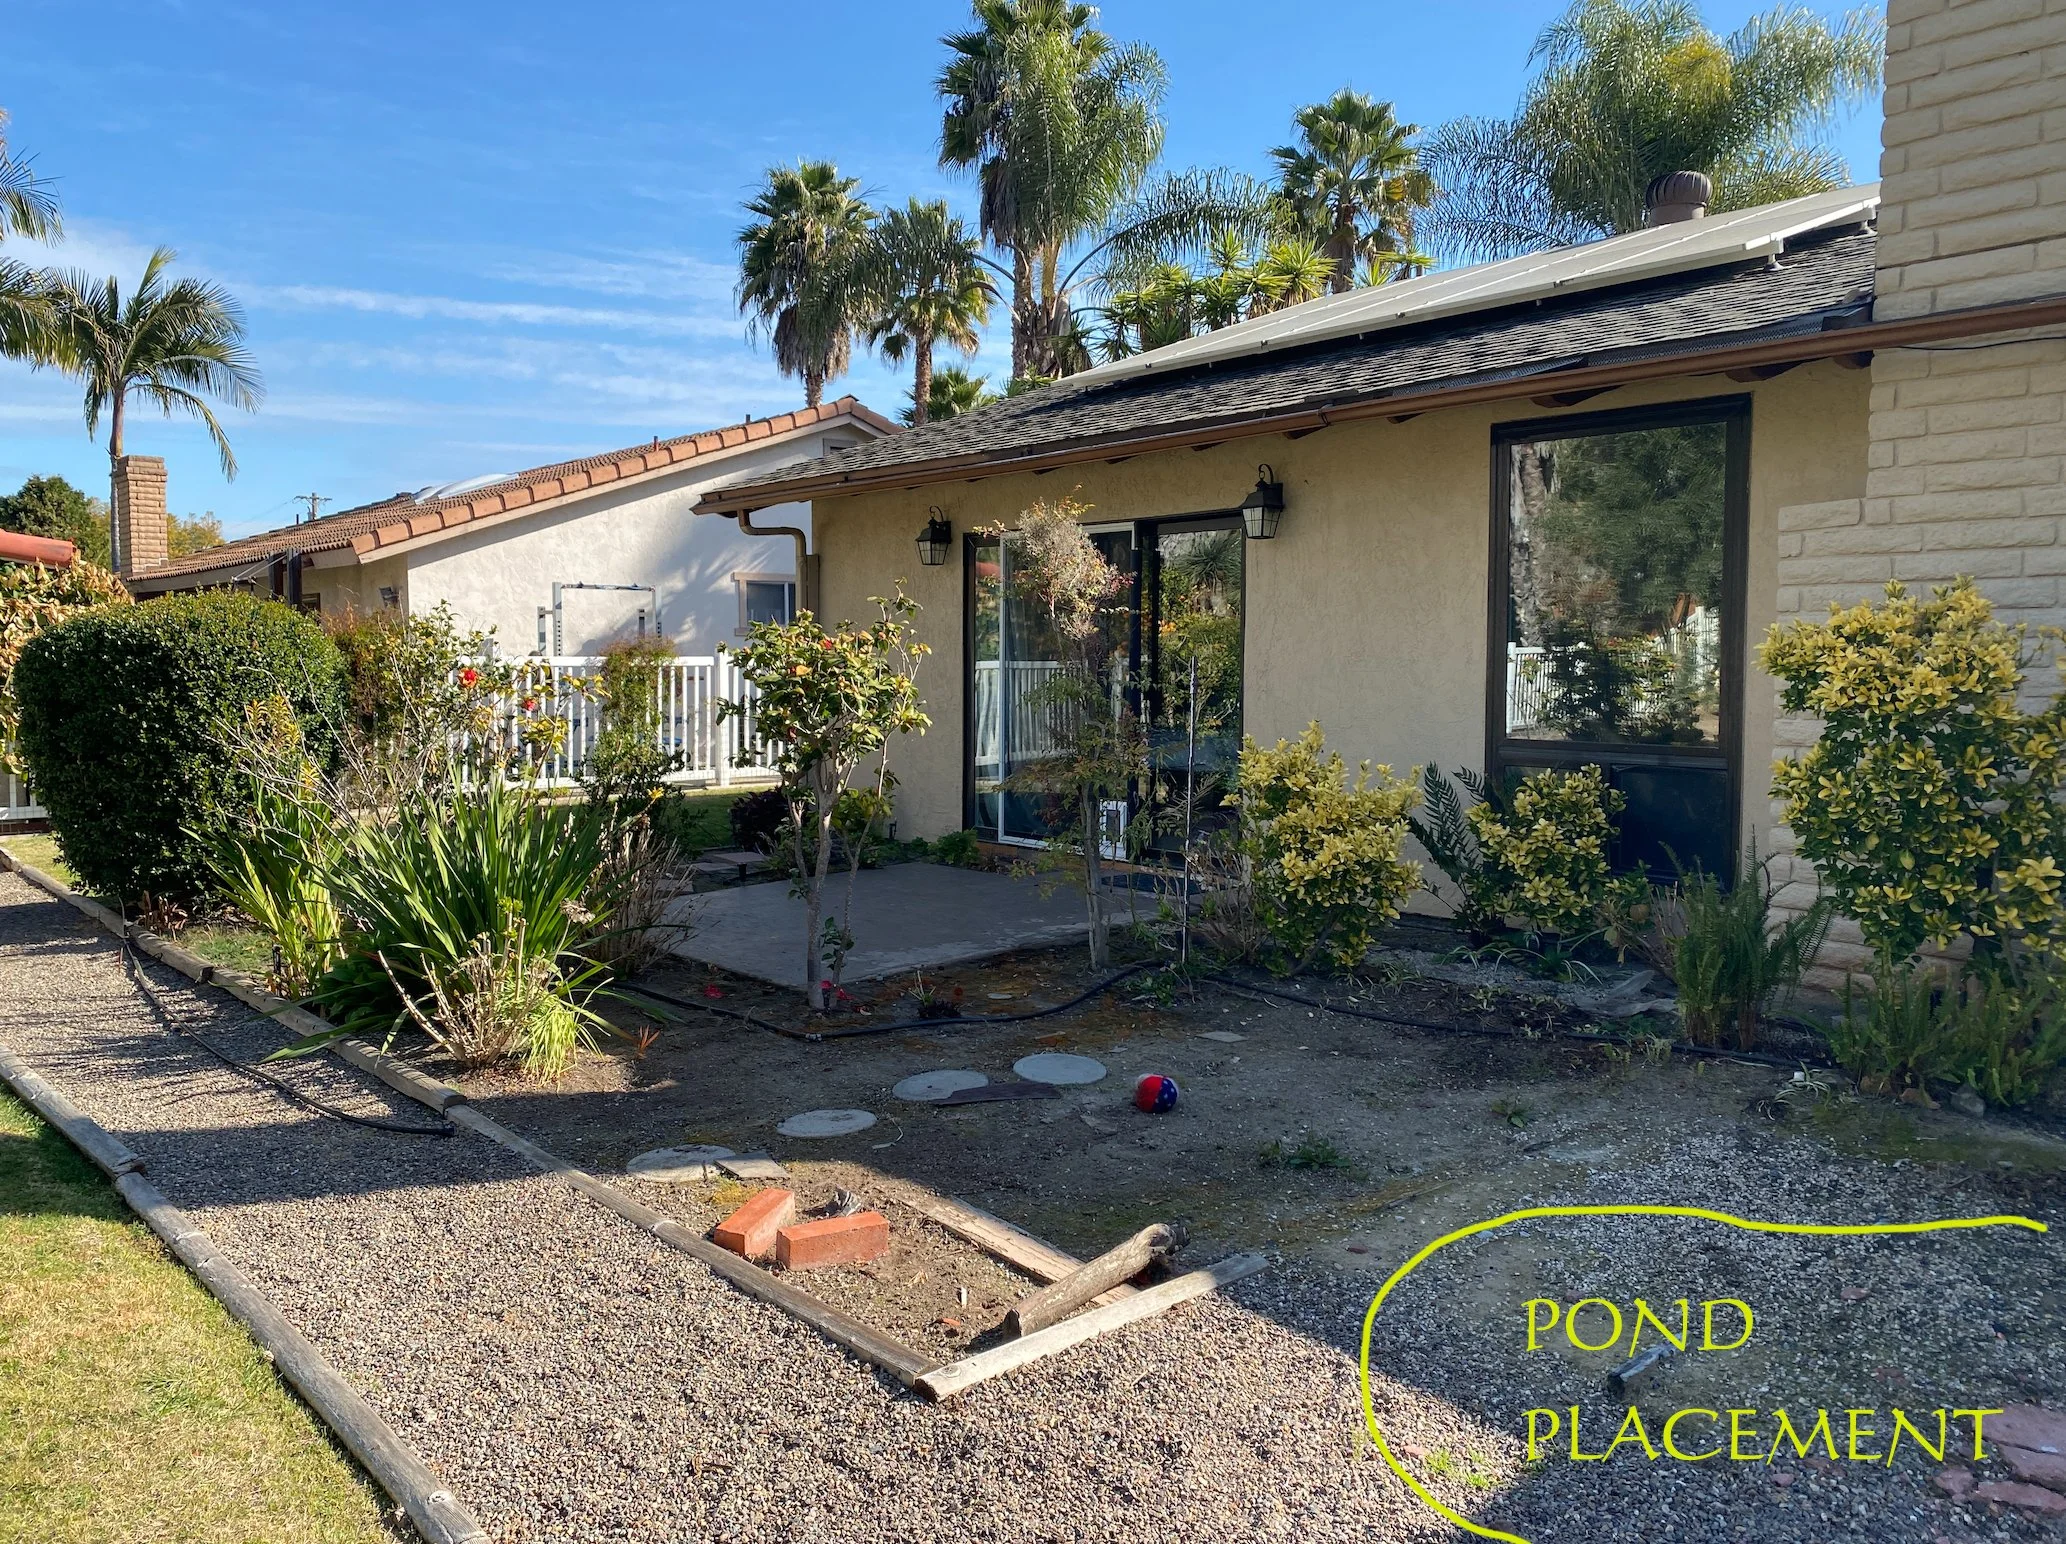
Find your spot. Advise: It is always better to work with your environment than against it. If you can avoid moving big boulders, close areas around trees and so on that will safe you a lot of time and later headache (tree roots, tree droppings, too much shade etc.) later. Be open to change your initial idea and consider even front or side yard areas for your pond if the terrain seems more suitable.
Your BUDGET! Just like most DIY projects, you can go all out in your pond design/size etc. but it depends on your funds you can or want to invest. You have to consider not only the supplies for the initial installation but also what kind of pump and filtration system you are considering, how many fish, plants, enough hiding areas for them and a deep enough pond itself to keep all sorts of critters away.
Sun or shade? Observe your backyard, side and front yard areas and see which places allow for shade and/or are fully exposed to sun throughout the day. Both have their own advantages as well as challenges but most ponds and koi like a mix of both, some sun and shade. If sun is your only option make sure that you cover some parts of the pond with aquatic plants to allow for shade underneath. A full sun exposed pond also tends to build up algae quicker and needs more attention to maintaining it.
Pond filtration. Just as previously mentioned the filtration is a key accessory to make your pond a success. Biological & mechanical filtration components remove suspended debris and excess algae that cause toxic gases like ammonia, you can purchase those online or at your local pet store. You will also need a pond pump to allow a constant flow and oxygen to the water.
List of tools and materials you will need for this project:
shovel
trowel
garden hose
plank of wood
level
pond liner
sand
bricks
landscaping rocks/ boulders
fountain pump
Now once you decided on your area, draw out a shape that you want to use, we usually suggest some sort of kidney shape or asymmetrical to enhance a more natural look rather than man-made look.
Step 1: dig out your hole. Make sure the depth is AT LEAST 24” deep, that will protect the fish from critters. Dig the hole with side walls straight facing down, keeping the walls/edges nice and solid so that they won’t break down with added pressure of the rocks. Once the shape is done and dug out, take off any top soil around your hole to a width of about 4-5 inches, that space will be the placement area for your bricks which will work as the solid fountain wall. Last but not least dig one area of your pond deeper than the rest, that will provide additional hiding space for your koi fish and certain plants that need the extra depth.
Step 2: Before adding your pond liner, carefully check for any roots or rocks or anything else that potentially can puncture your liner and defeat its purpose. Also make sure that your liner is wide and long enough for your pond before you make your purchase. It should lay at least 2’ each direction around the edges of your pond. Now add an even layer of sand for additional protection and to level your ground. Lay your liner over the hole, pushing it to the edges of the pond rather than pulling it in either direction, you want the liner tugged into the corners with as little space underneath as possible. Bricks will make sure your liner will stay in place, frame them all around the hole as tightly as you can in one single layer.
Step 3: Decide where you want to place your water pump and where the cables, hose etc will go. Once the pump is placed, you can start adding rocks on the inside of the pond hole as well staggered to create a dynamic nature pond look. Run your cables along the side or back of the pond, wherever it is least noticeable. Rocks might help to hide the unpleasant look as well, you can create cave like staggered areas and run the cable through the hollow parts.
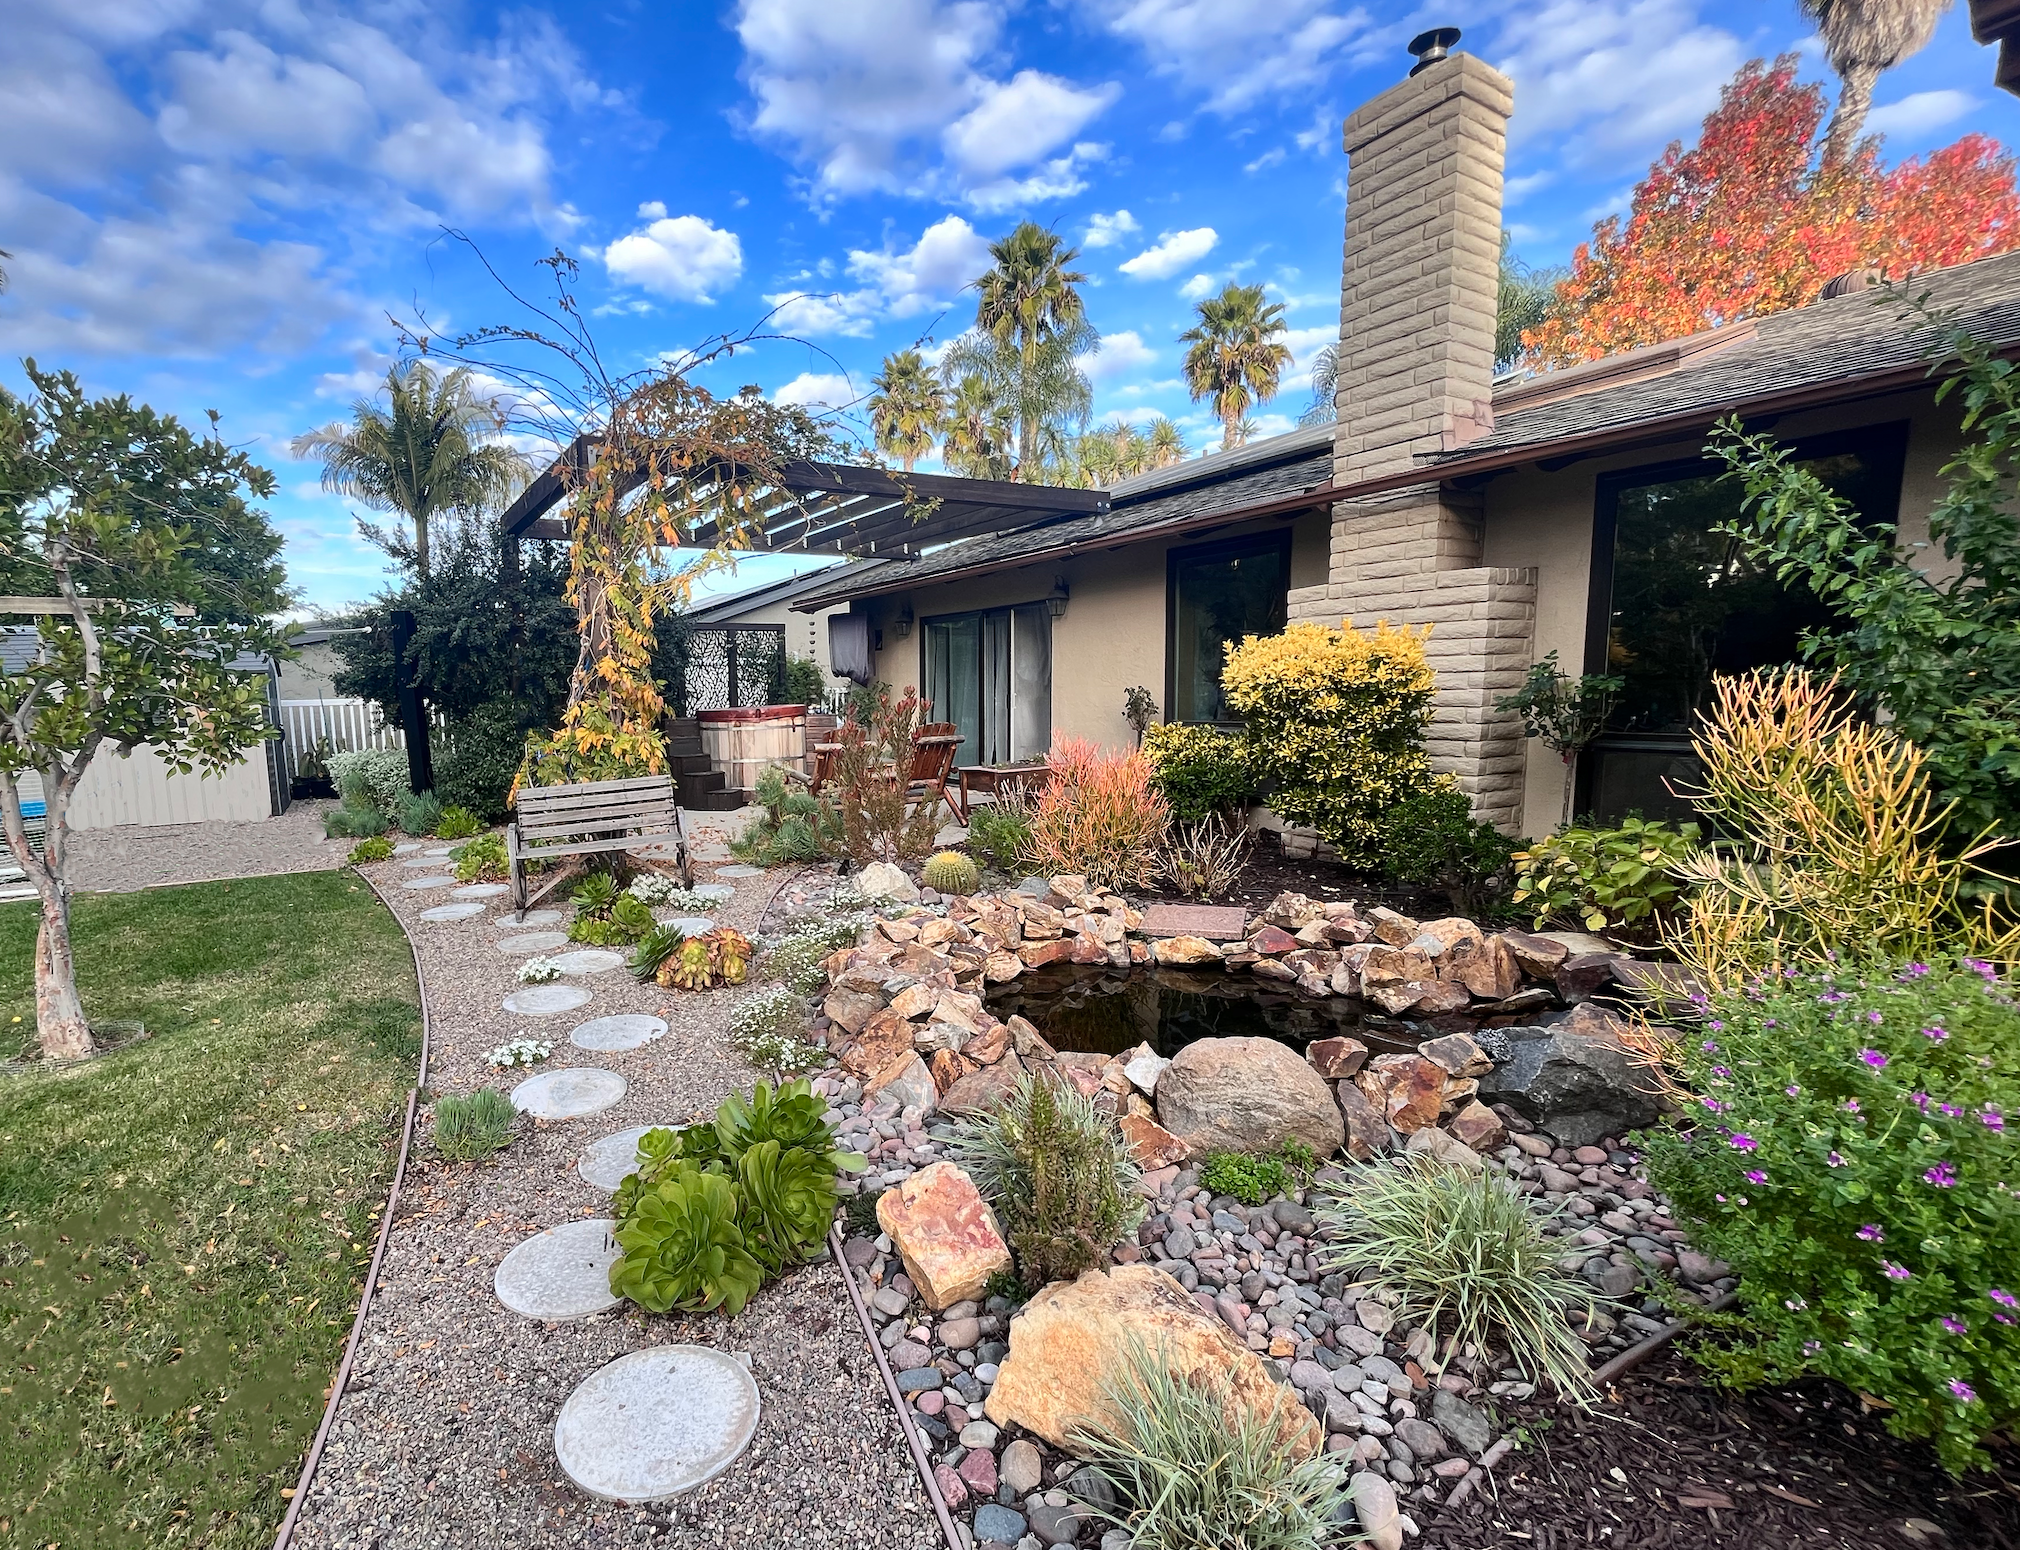
Step 4: Now fill the rest of the area around the pond with dirt on top of the liner, add rocks in your own creative way all around the pond and on top of the bricks to hide those, giving your pond its final touches.
Step 5: Fill your pond with water all the way to your brick line and turn on the pump. Add some water conditioner and algea remover to the water and wait 24h before adding any water plants and fish.
Enjoy your new outdoor addition! To maintain the clarity of your pond, add algae remover once a week. Refill water that might have evaporated as needed but make sure to always add the recommendad dosage of water conditioner to keep it safe for your fish and plants.
PLAN YOUR PLACEMENT
ARRANGE YOUR ROCKS AND MAKE YOUR FINAL TOUCHES BEFORE FILLING IN THE WATER. PLAN PUMP PLACEMENT CLOSE TO YOUR OUTLETS
ADDING FISH AND PLANTS AFTER 24H
YOUR FINISHED DIY POND


